Laser Cut Name Necklaces - SVG Generator
Hi everyone,
Here's the latest with Cuttle.
- New template: Nameplate Necklace
- Video: Ultimate Guide to Laser Cut Boxes
- Video: Adding features to the Open Box template
- Editor feature: add a “preview” and “cut” component in a Read Me
Nameplate Necklace 👸
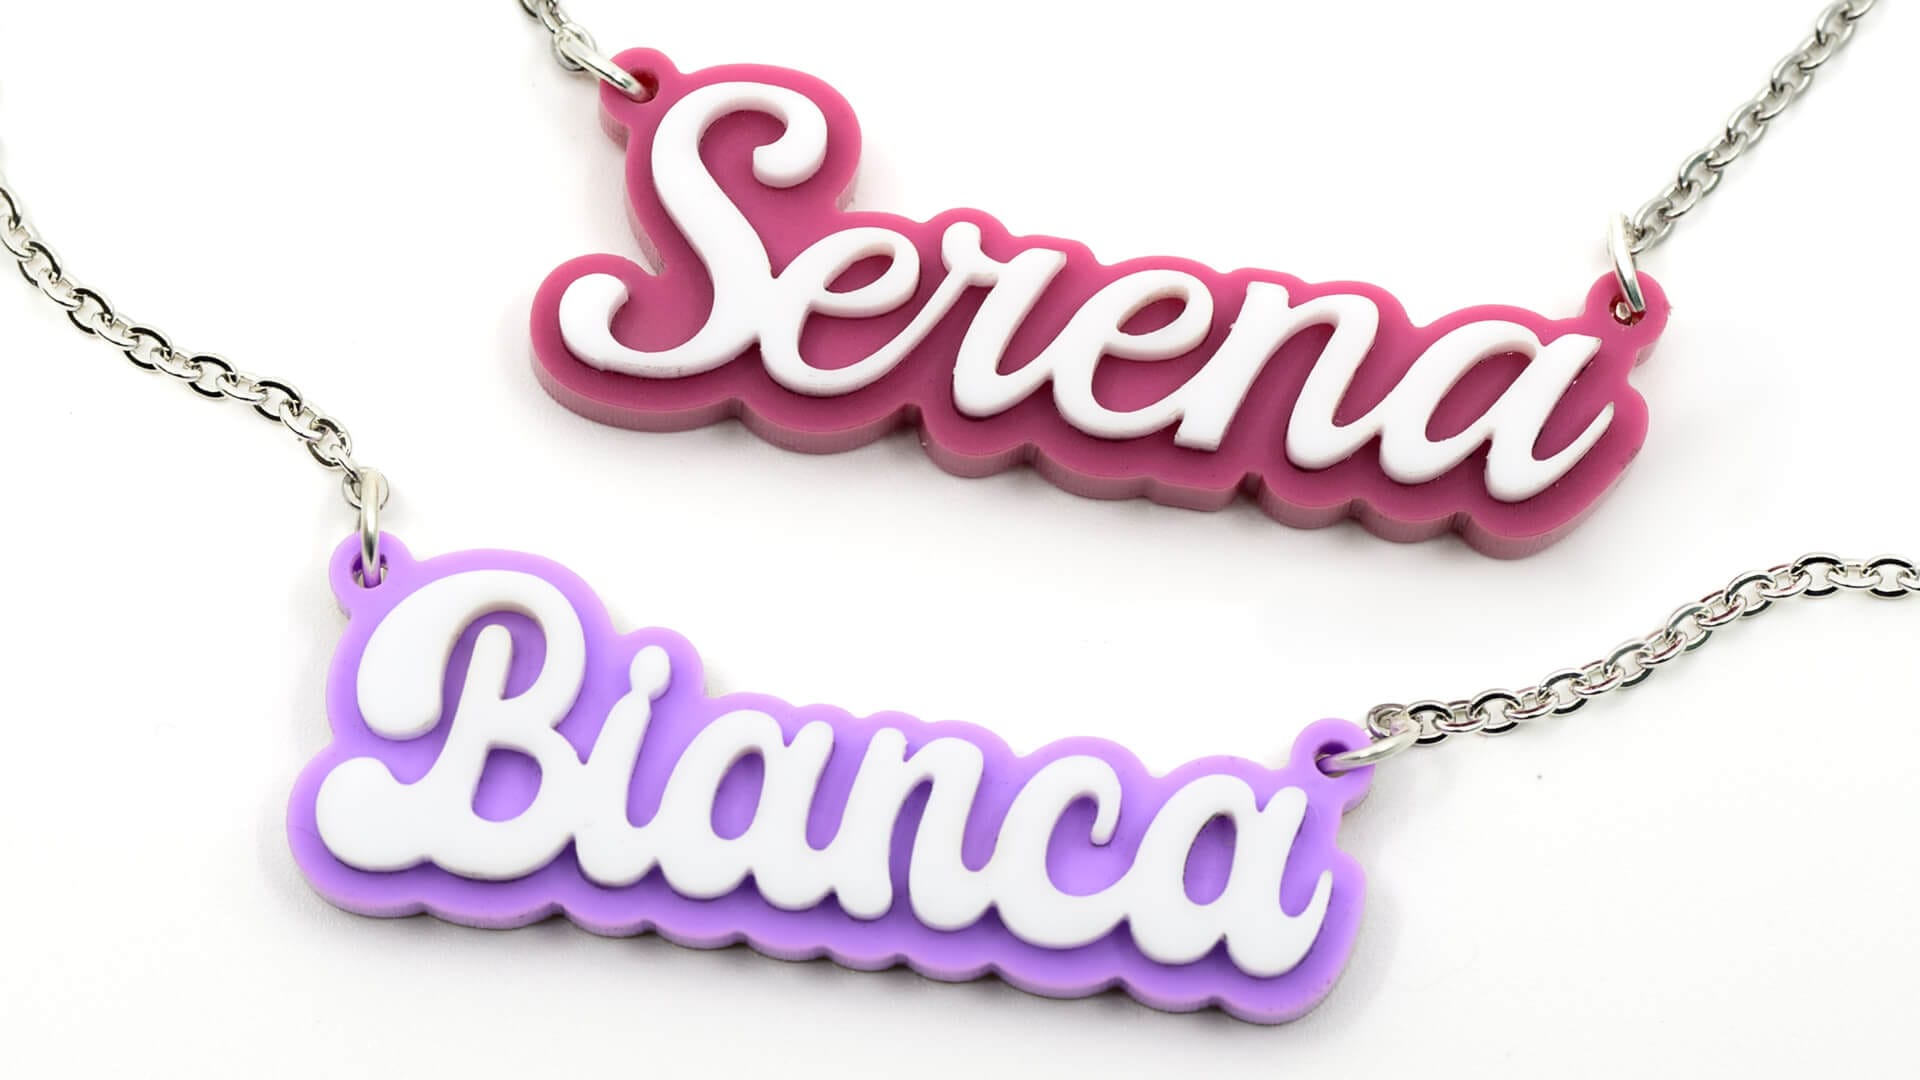
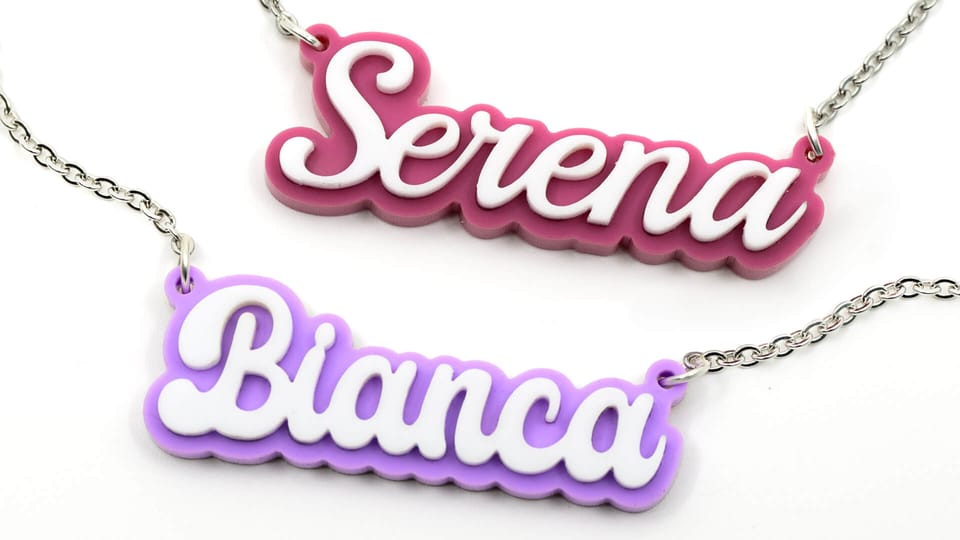
Our latest template lets you type any name to generate a two-layer name necklace.
- Letters are automatically connected, including dots on i’s, so you don’t lose any small pieces.
- The template generates the name and an offset backer.
- Two jump ring holes are automatically added to the backer.
In the photo above, we cut these from 1/8” matte cast acrylic for the backer and 1/16” matte white cast acrylic for the name. We applied 3M adhesive to the back of the name piece before cutting so we could peel and stick the name to the backer. This acrylic is from Custom Made Better (use our code CUTTLE10 for 10% off).
Ultimate Guide to Laser Cut Boxes 📦
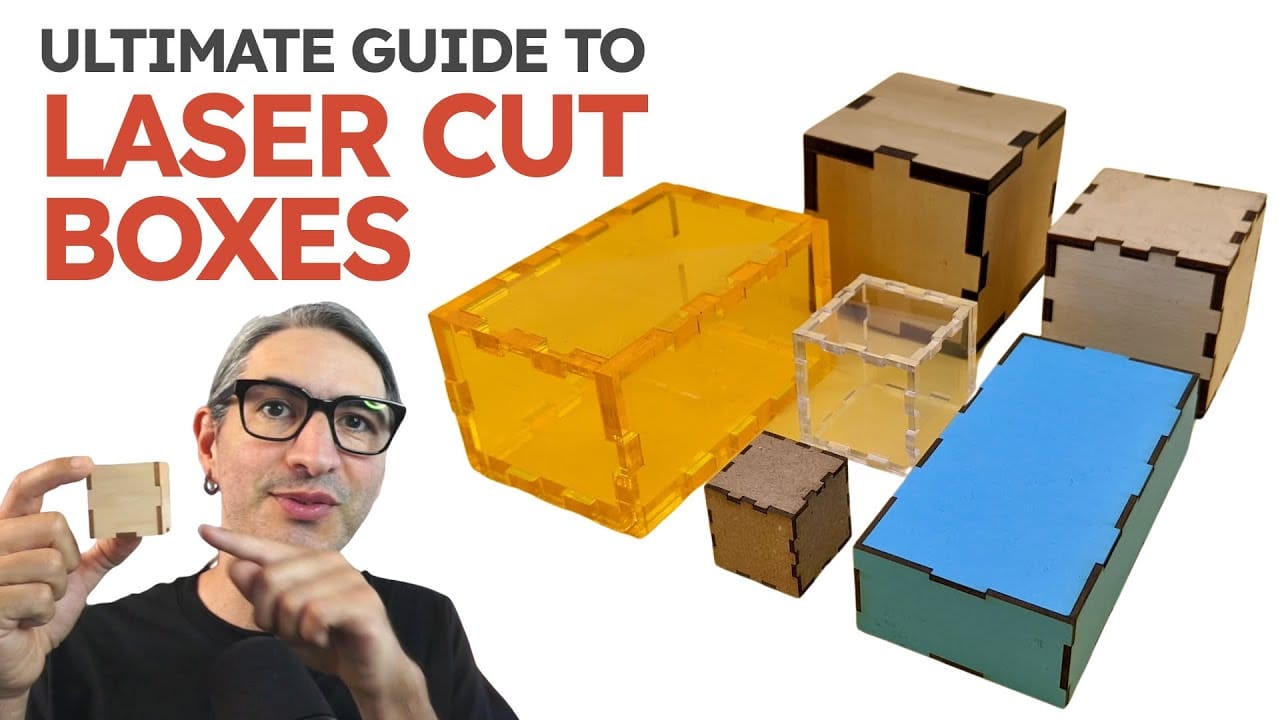
This video is a comprehensive beginners’ guide to making laser-cut boxes.
It covers:
- The best materials to use
- What are finger joints
- What is kerf
- How to use calipers to measure your material thickness
- How to assemble boxes with and without glue
We originally recorded this video for Laser Craft Fest 2023. Federico and I were going through our video archives and rediscovered it. We felt it had so much useful information that it was worth sharing more widely!
Adding features to the Open Box template 📹
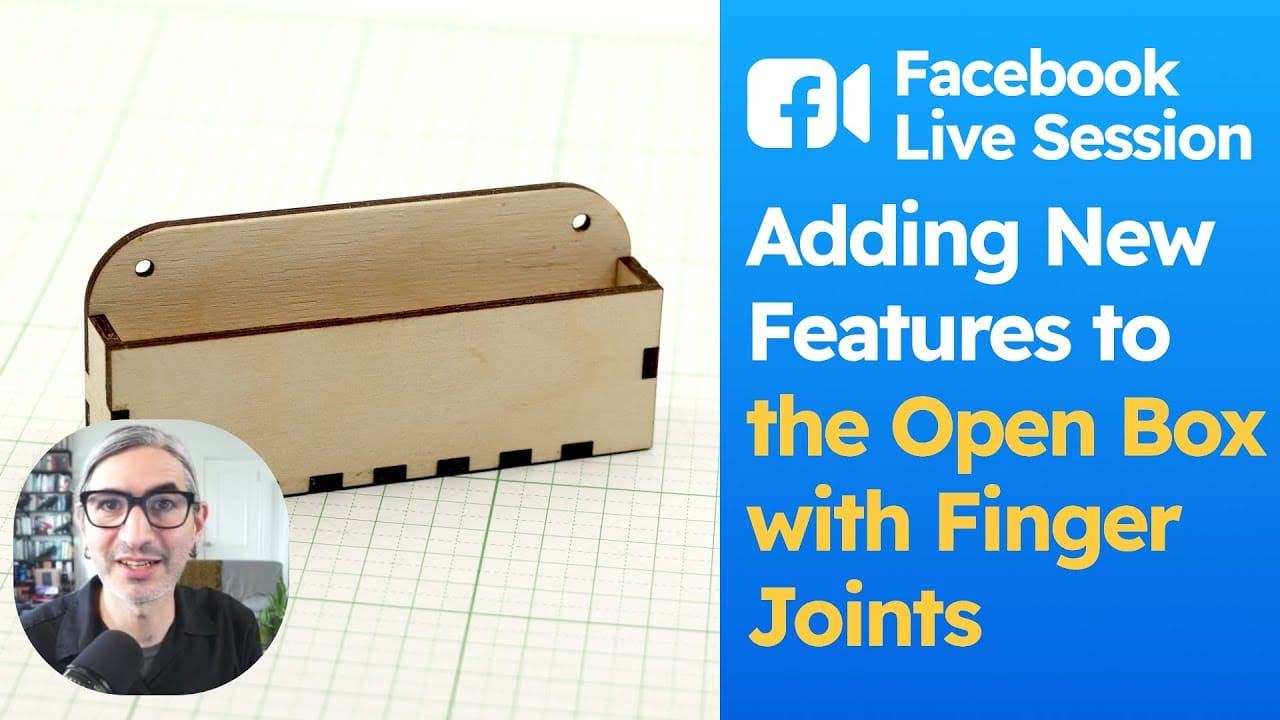
In Federico’s live stream from last week, he showed how to open an existing template in the Cuttle Editor and make changes to it. Specifically he takes the Open Box and adds a hanging tab with screw holes on the back face.
This is a good session for understanding how templates with customizable dimensions are constructed. Check out the video recording (30 min).
Federico hosts a live stream on our Facebook Group every Thursday at 1pm PT / 2pm MT / 3pm CT / 4pm ET. See you there!
Adding a “preview” and “cut” component to a Read Me ✨
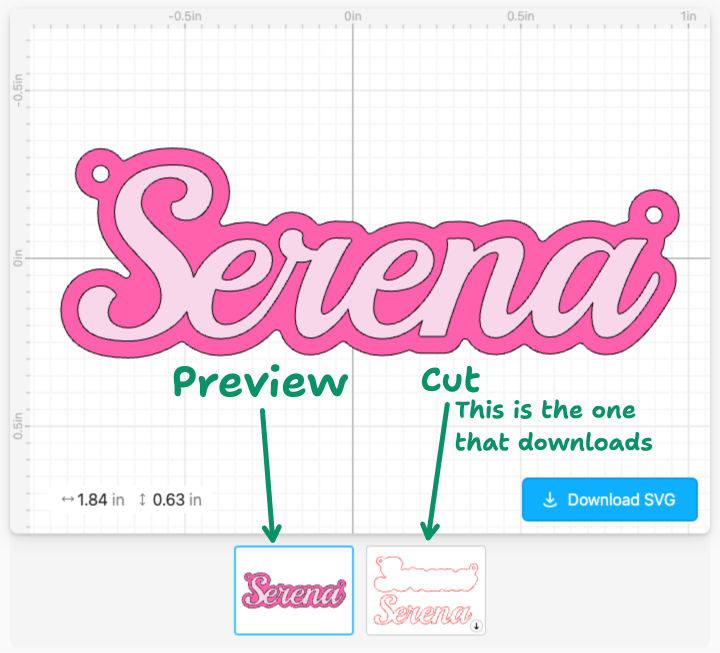
Many of our recent templates feature a “preview” of what your project will look like and a “cut” component which is the SVG cut file that will actually download.
We find this pattern particularly useful for layered projects where you want to see what all the pieces layered on top of each other will look like (the “preview”) but then you want to download the separate cut pieces.
You can now use this feature when making your own templates!
Create a Component Embed as normal and choose your “preview” component. Then click the + button and add your “cut” component.
The last component in the “component gallery” will be the one that downloads.
Other Improvements and Fixes 🐞
- Fixed a bug with text kerning — how letters are spaced next to each other. Thank you for the bug report Nathan N!
- Fixed an issue where sometimes a project was erroneously marked as changed (blue check in the Share menu) when switching from Packaged view to Read Me view.


